Step by step guide
Summary
By default Elevator is open to all Jira users to view roster data, manage their own notifications and interact with issues.
Rosters can be created by any user belonging to a group that has the Global Permission 'Create Shared Objects' (Please see Checking Global Permissions), or users which are members of the Jira Administrators or Jira System Administrators groups.
Elevator can also be restricted to only certain users through Jira groups. When restrictions are enabled all users are able to interact with issues but only restricted users may access roster and notification settings.
Setting up user access controls
Adding a dark feature
- Login as an administrator and go to [BASE-URL]/secure/SiteDarkFeatures!default.jspa
- Enter com.sapling.elevator.groupRestrictions.enabled in the enable dark feature field and select Add
- Once enabled users who are not JIRA Administrators or JIRA System Administrators will not be able to see Elevator rosters or admin functions. They will be able to see and interact with the Elevator panel within the issue UI.
Adding the Elevator User Group
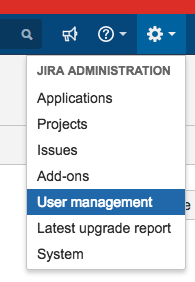
- Under Administration on the top right menu select User Management
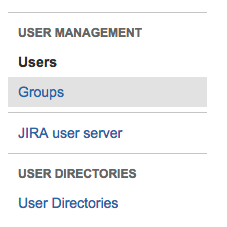
- Select Groups from the left hand side menu bar
- Create a group and name it elevator-users
Adding users to the Elevator User Group
- Under Actions select Edit Members
- Search add members to the selected group
Checking Global Permissions
- From the JIRA ADMINISTRATION option on the far right top menu select System
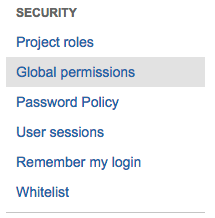
- Select Global Permissions under Security
- Confirm the required Roster Creator is a member of the group(s) associated to this permission


