Leave
Step by step guide
Create a new leave request
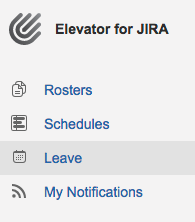
- From the left hand menu select 'Leave'
- Select 'New Leave Request' from the top right

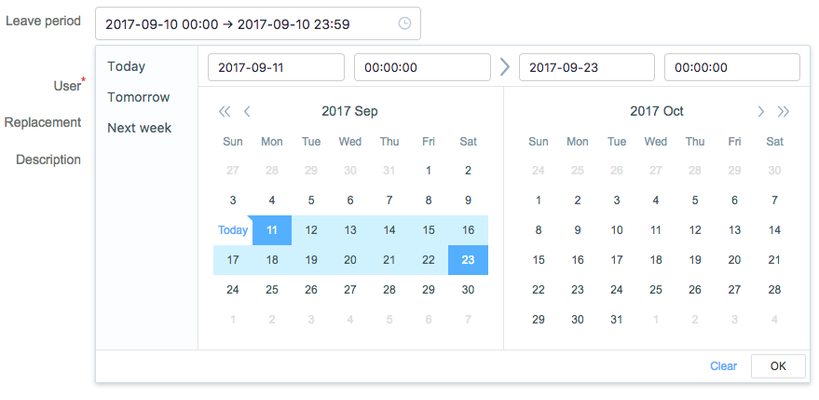
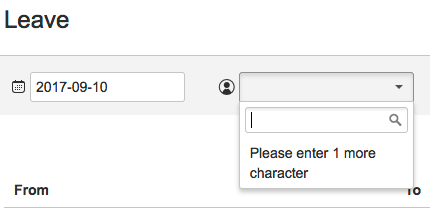
- Click within the Leave Period field for the calendar to appear
- There are 2 options to enter leave:
- Select your leave start date then your end date. The days between these selected dates will automatically be added, once confirmed select OK
- Use the lefthand shortcut options:
- Today - Will place the user on leave today from midnight to midnight
- Tomorrow - Will place the user on leave tomorrow from midnight to midnight
- Next Week - Will place the user on leave for 7 days for the proceeding week. Leave will start Midnight and finish at midnight on day 7
- Select the user that is going on leave

- Choose a Replacement option:
- None - The user will not be replaced by another user in their associated rosters
- Replace Globally - The selected user will replace this user within all their associated rosters
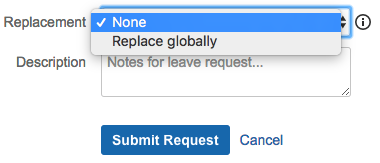
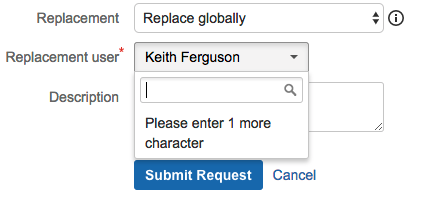
- Select Submit Request

Editing a leave request
- From the left hand menu select 'Leave'
- Select the edit pen to edit details of the leave request
- Select the bin the delete the request

Searching for a leave request
- From the left hand menu select 'Leave'
- From the top search option select the date and the user
- The search results will display in the below grid

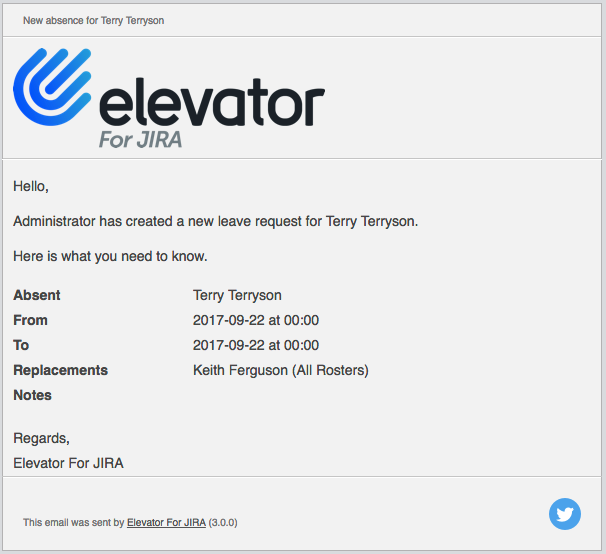
Notifications
Once a leave request is submitted an email notification will be sent. The recipents will be, the user who is taking leave, the replacement (if one is selected). The notification will advise, who created the request, the user taking leave and the replacement (if one is selected).